Techniques for smearing the sample onto slides
The main goal in creating slides for cytologic assessment is to make smears that are thin and evenly distributed without rupturing the cells. It is best to create multiple slides from one FNA, enabling the clinician to stain one with an in-house stain (Diff-Quik®) for sample assessment while allowing for unstained slides to be sent to the cytology laboratory for a Wright–Giemsa based stain and potentially other special stains.
Additionally, making multiple slides from one sample creates the thin slides that are desired. The key to getting a thin, even sample is to start with a very small sample to smear. This small amount of tissue can be put on the slides in one of two ways. With either method, the sample is expelled onto the slide with the needle bevel pointing down towards the slide and the bevel over the slide near the frosted edge to give the most room for smearing (Figure 1.12). It is helpful to stabilize the syringe-holding non-dominant hand against the table or countertop while the dominant hand presses down on the plunger to expel the sample. 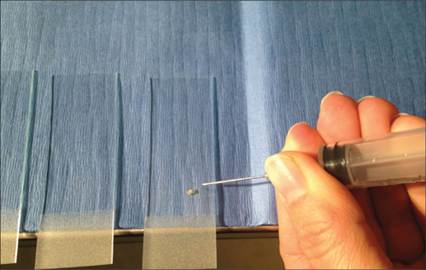
Figure 1.12 Expelling the sample onto a slide. Expel the contents with the needle bevel down and near the frosted edge of the slide. Stabilizing the hand holding the syringe and needle against the table surface while depressing the plunger with the other hand can help to maintain good needle position.
The first technique involves gently and carefully expelling a very small amount of the sample onto as many slides as possible (most FNAs will yield enough for 4–6 slides; Figure 1.13). Next, another empty, or ‘smearing’, slide is used to smear each small sample across each slide. The same smearing slide can be used to smear every slide from one sampling procedure. A new smearing slide must be used for every new sample to avoid contamination of the new sample with cells on the smearing slide from the first sample.
To create a thin, even, and unruptured sample, the smearing slide is placed crosswise to the sample slide and gently pressed down to flatten the sample (Figure 1.14). Keeping the slides touching via the same gentle pressure, the smearing slide is pulled to the end of the sample slide (Figures 1.15, 1.16). If the slides stay flat against each other, the sample will be smooth and even. If one of the smearing slide edges touches the sample slide with disproportionate pressure, the sample will get dragged and will have ruptured areas and areas that are too thick (Figure 1.17). 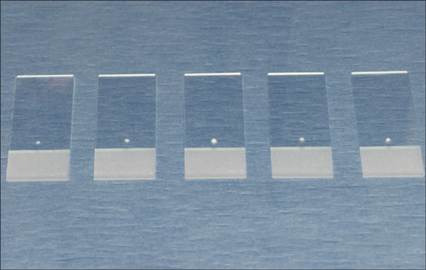
Figure 1.13 Slides on which a small amount of material, from one aspirate, has been expelled.
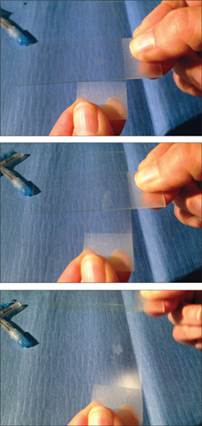
Figures 1.14–1.16 A clean ‘smearing’ slide is used to smear the material on each of the slides shown in Figure 1.13. (1.14) First, the smearing slide is used to press the sample flat. (1.15) Next, the smearing slide is pulled across the sample slide, while maintaining even pressure and contact, to create a smear. (1.16) The smearing slide is pulled all the way off of the sample slide, and the even smear that was created can be seen.
alt=fig1.17.jpg>
Figure 1.17 Sample slides stained with Diff-Quik®. The slide on the right is the goal of good sample creation. The slide on the left shows what unequal pressure from the smearing slide can result in. Note the irregular shape of the smear with very thin and thick areas.
The second, and authors’ preferred, technique for making smears is to expel all of the sample onto one slide (Figure 1.18). From there, the smearing slide is used to lightly touch the top of the sample drop, pick up a small amount of sample, then smear that sample evenly across a new slide (Figures 1.19–1.25). The same smearing slide is then used to pick up another small bit of sample and smear it onto a new slide.
This goes on until only a very small amount of sample is left on the first slide, which is then smeared itself. In this manner, at least 3–5 good slides are generally produced from one FNA (Figure 1.26). 
Figure 1.18 Demonstration of expelling all of the sample onto one slide.
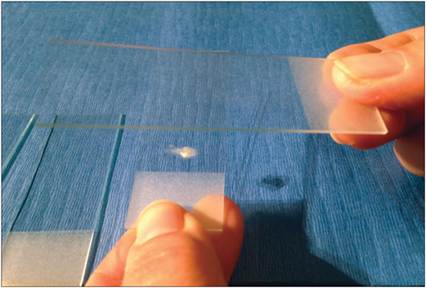
Figure 1.19 The smearing slide is used to barely touch the large sample and pick up a small amount on its underside.

Figure 1.20 Here both slides can be seen, the original sample slide with sample remaining and the top smearing slide with a drop of sample on the underside.
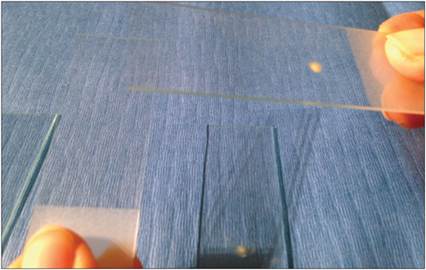
Figure 1.21 The sample slide has been set down and a clean slide is picked up in the left hand. The right hand still holds the smearing slide.
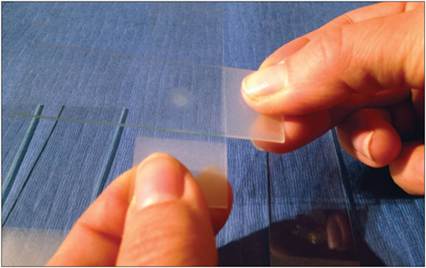
Figure 1.22 The smearing slide now presses down on the clean slide and flattens the sample, as in Figure 1.14.
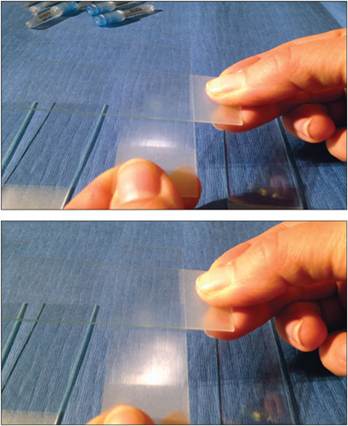
Figure 1.23,1.24 The sample is smeared as in Figures 1.15 and 1.16.
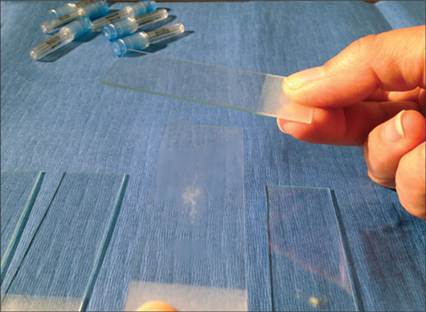
Figure 1.25 The first smear is complete, and will now be set down. The sample slide to the right in the photo will be picked up with the left hand, another drop of sample is picked up on the underside of the same smearing slide seen in the right hand, and this is smeared onto a new slide, repeating Figures 1.19–1.24. At the end, the sample on the original sample slide is smeared flat.
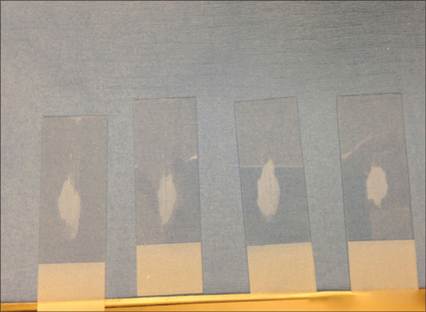
Figure 1.26 The line-up of evenly smeared slides that can be made from one fenestration procedure.
Both of these techniques for sample distribution and smearing on slides will produce better slides than the traditional ‘squash prep’ technique, as squash preps create many areas in the sample that are too thick for microscopic evaluation (Figure 1.27).
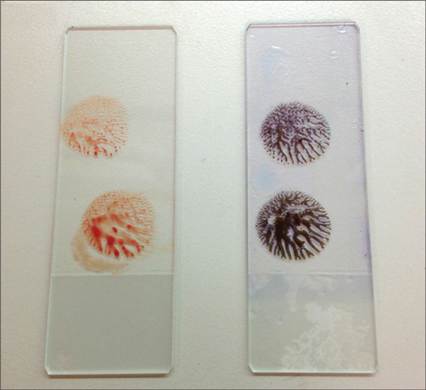
Figure 1.27 The slides, unstained and stained, that result from the squash prep technique. Note the thick and thin areas.